Standard Landing pages
Landing page is a web page that acts as an entry point to a Surfly session. The page visitor is the Tab-owner of the session and the Agent can join as a Following-participant.
Landing pages are also great in the case you want to upgrade an ongoing text chat or a phone call conversation to a co-browsing session. You can just send over the Landing Page URL and join as a following-participant without implementing Surfly into your web-application. You can even add the URL somewhere on your website.
This article describes the Standard Landing page that is available to Companies on Surfly Enterprise plan. To learn more about custom Landing page implementation possibilities, check this article.
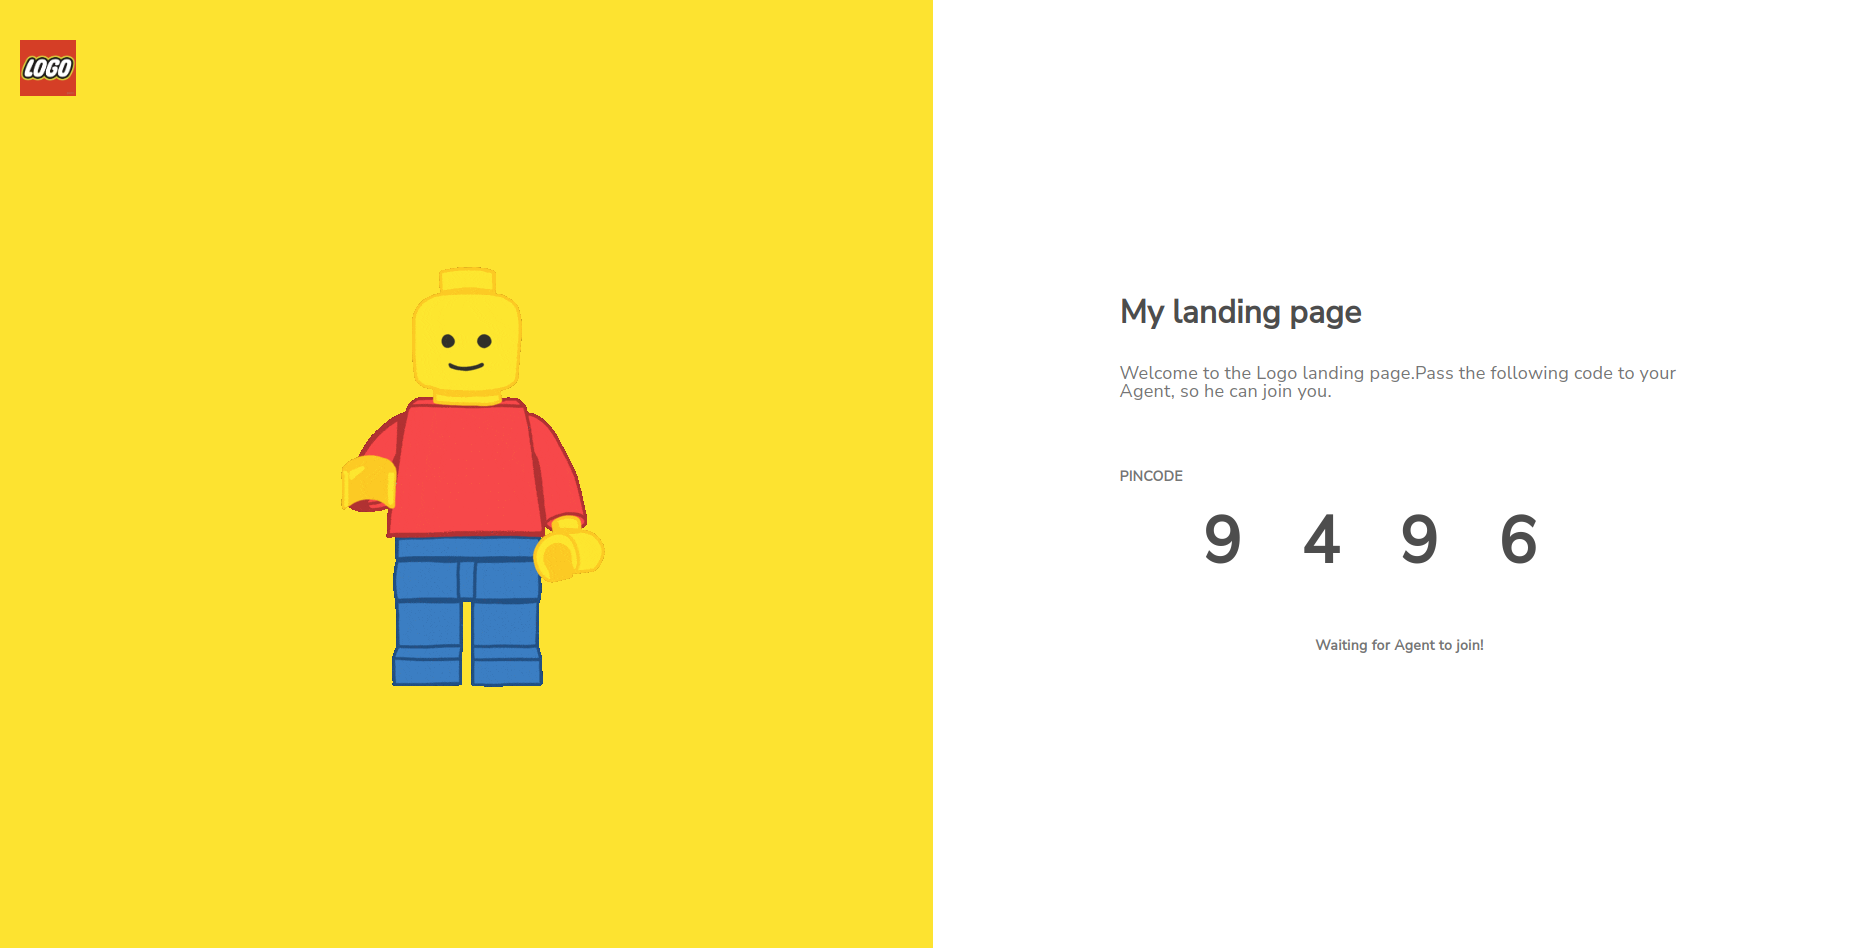
When the customer opens the landing page URL, they see a lobby-like page with a welcome note and a “Pincode”. In case of multiple Agents using the Landing page simultaneously, this Pincode can be used as a unique identifier in order for the Agent to connect to a specific customer they are in a conversation with. The Agent(s) can also answer the incoming session requests through the queue.

Requirements
This feature is available to the Companies on Enterprise plan
Setup & Customization
Setup
The following options are required in order to render your landing page:
Landing page slug - a slug will affect what your page URL looks like.
Landing page start URL - a URL of the page that will open once the Agent joins.
Both can be found in Dashboard: Settings > Options > Landing Page.
Once you have set the settings above, you will see your URL in the “Landing page slug” option description.
Customization
Customization options can be found in Dashboard Settings.
Settings > Options > Landing Page
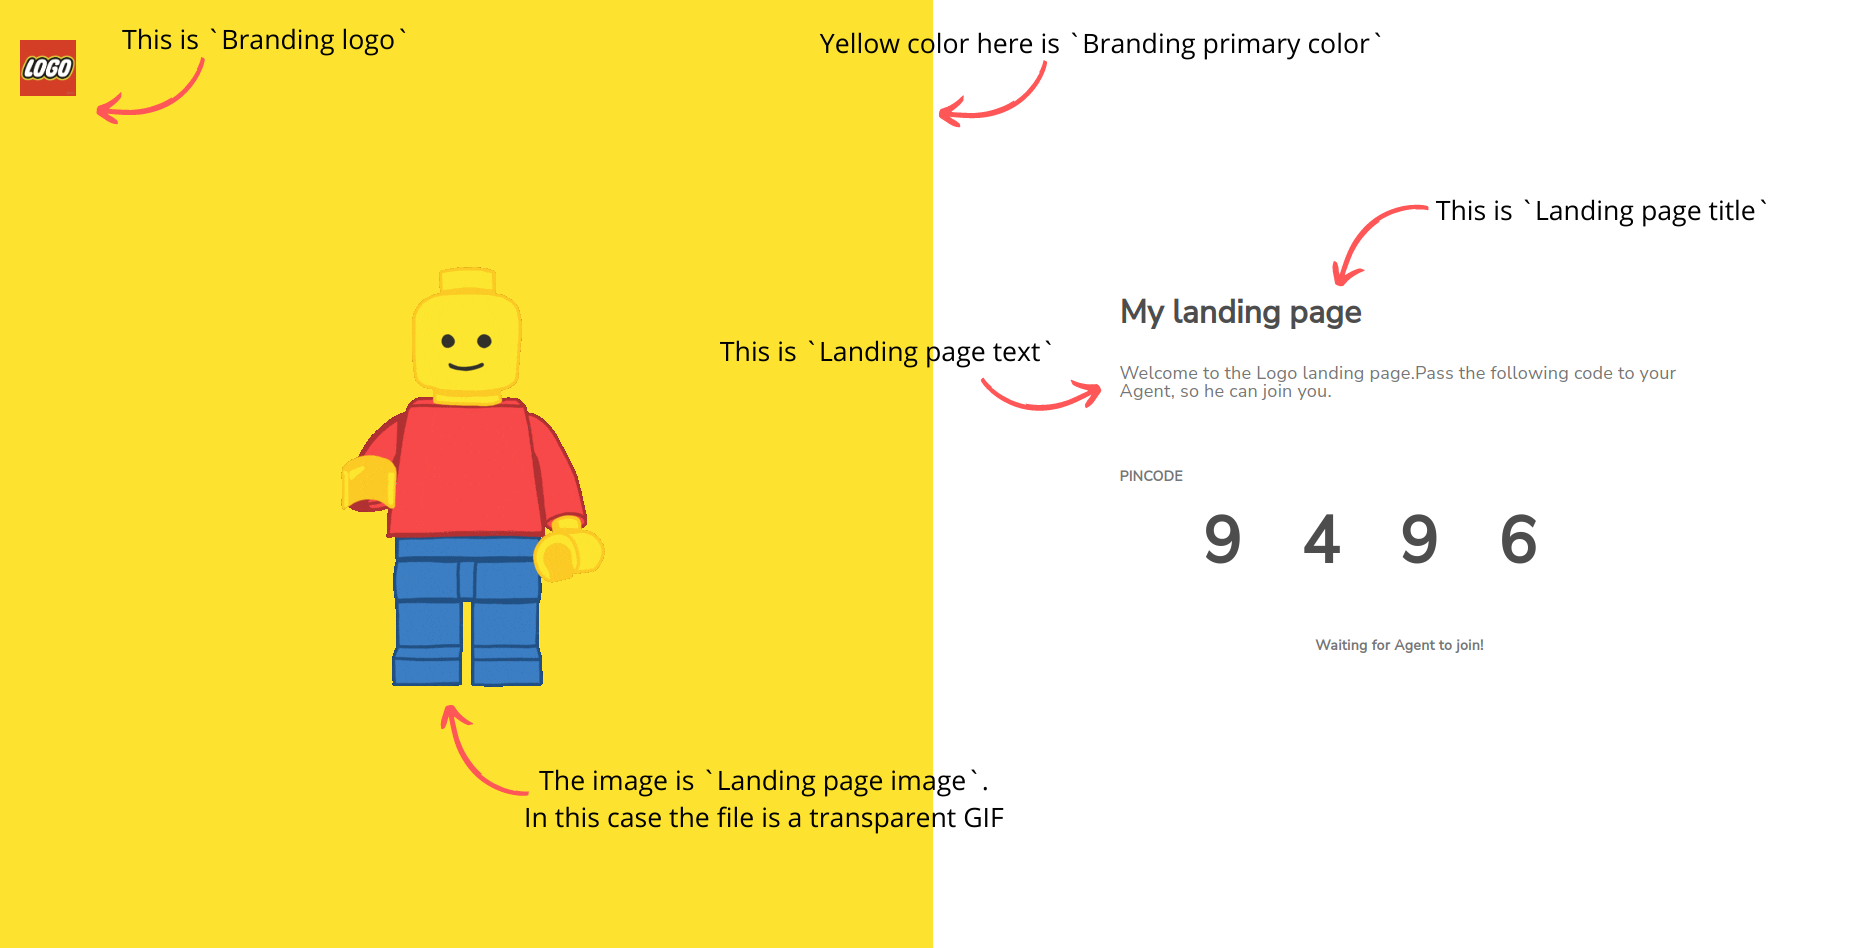
Landing page title - page title, displayed on the right side of the Langing page.
Landing page text - welcome text, displayed on the right side of the Langing page underneath the title. Useful place to give instructions to your customer.
Landing page image - image that appears on the left side of the landing page. The image will be centered, we recommend using an image with transparent background.
Settings > Options > Company Settings:
Branding logo - your company logo that is shown in the sidebar of the Dashboard is used as a logo on the Landing page, in the top left corner.
Branding primary color - the color of your sidebar on Dashboard will be used as a background color of the landing page, on the left side.

