Introduction
This document will guide you through the steps to integrate Surfly into your Salesforce app
Before You Begin
To find the REST API key, please log in to the Surfly dashboard and navigate to Settings > Integration.
Steps to integrate
-
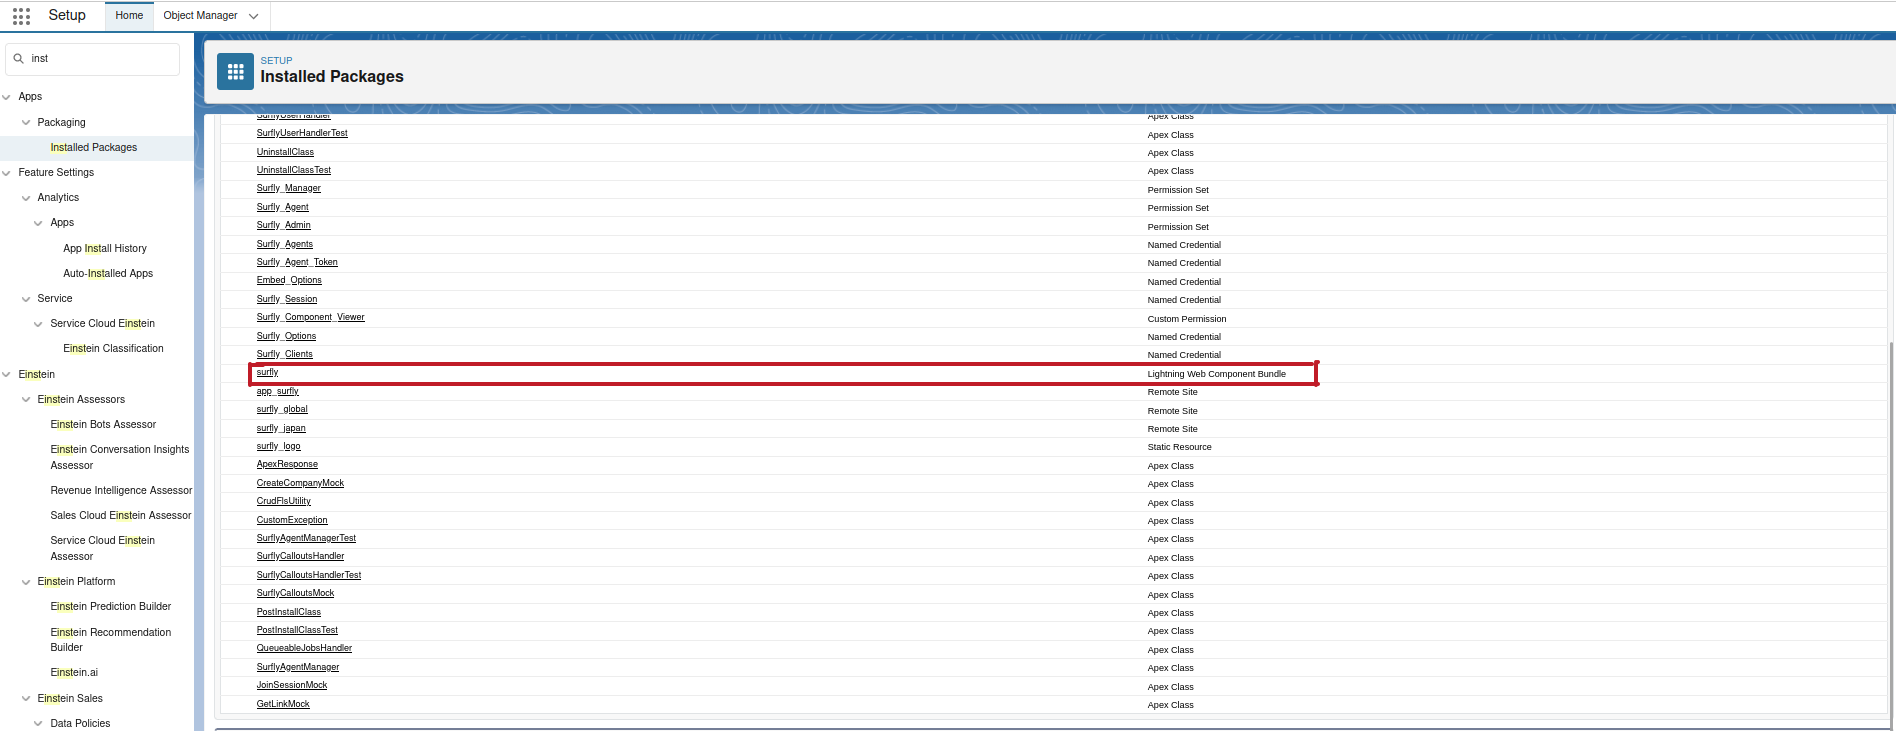
Install Surfly in your SalesForce app using the following link: https://login.salesforce.com/packaging/installPackage.apexp?p0=04tKC0000008sX8
-
Now, you can create a new page or edit an existing page from Lightning App Builder (Salesforce setup → User interface →Lightning App Builder)


-
Once Surfly is added to the component, save the page and activate it.

Using Surfly
-
You can start a Surfly session on a webpage by typing a valid URL or join an existing session by entering the unique 4 digit PIN generated by another user.
-
To enable a video-chat session use the highlighted toggle below

-
Users with the Admin privilege can also access Surfly settings using the highlighted button below

-
If you ever need to update the domain through which you access Surfly or modify your Surfly account's widget-key, kindly use the highlighted button below.

Please reach out to Surfly Support team at support@surfly.com for any related questions.