Introduction
This guide will show you step by step how to install Surfly’s custom component on your
NICE inContact MAX agent.
This component will let you start co-browsing, video chat and screen sharing sessions with patrons using the DFO chat.
Employees
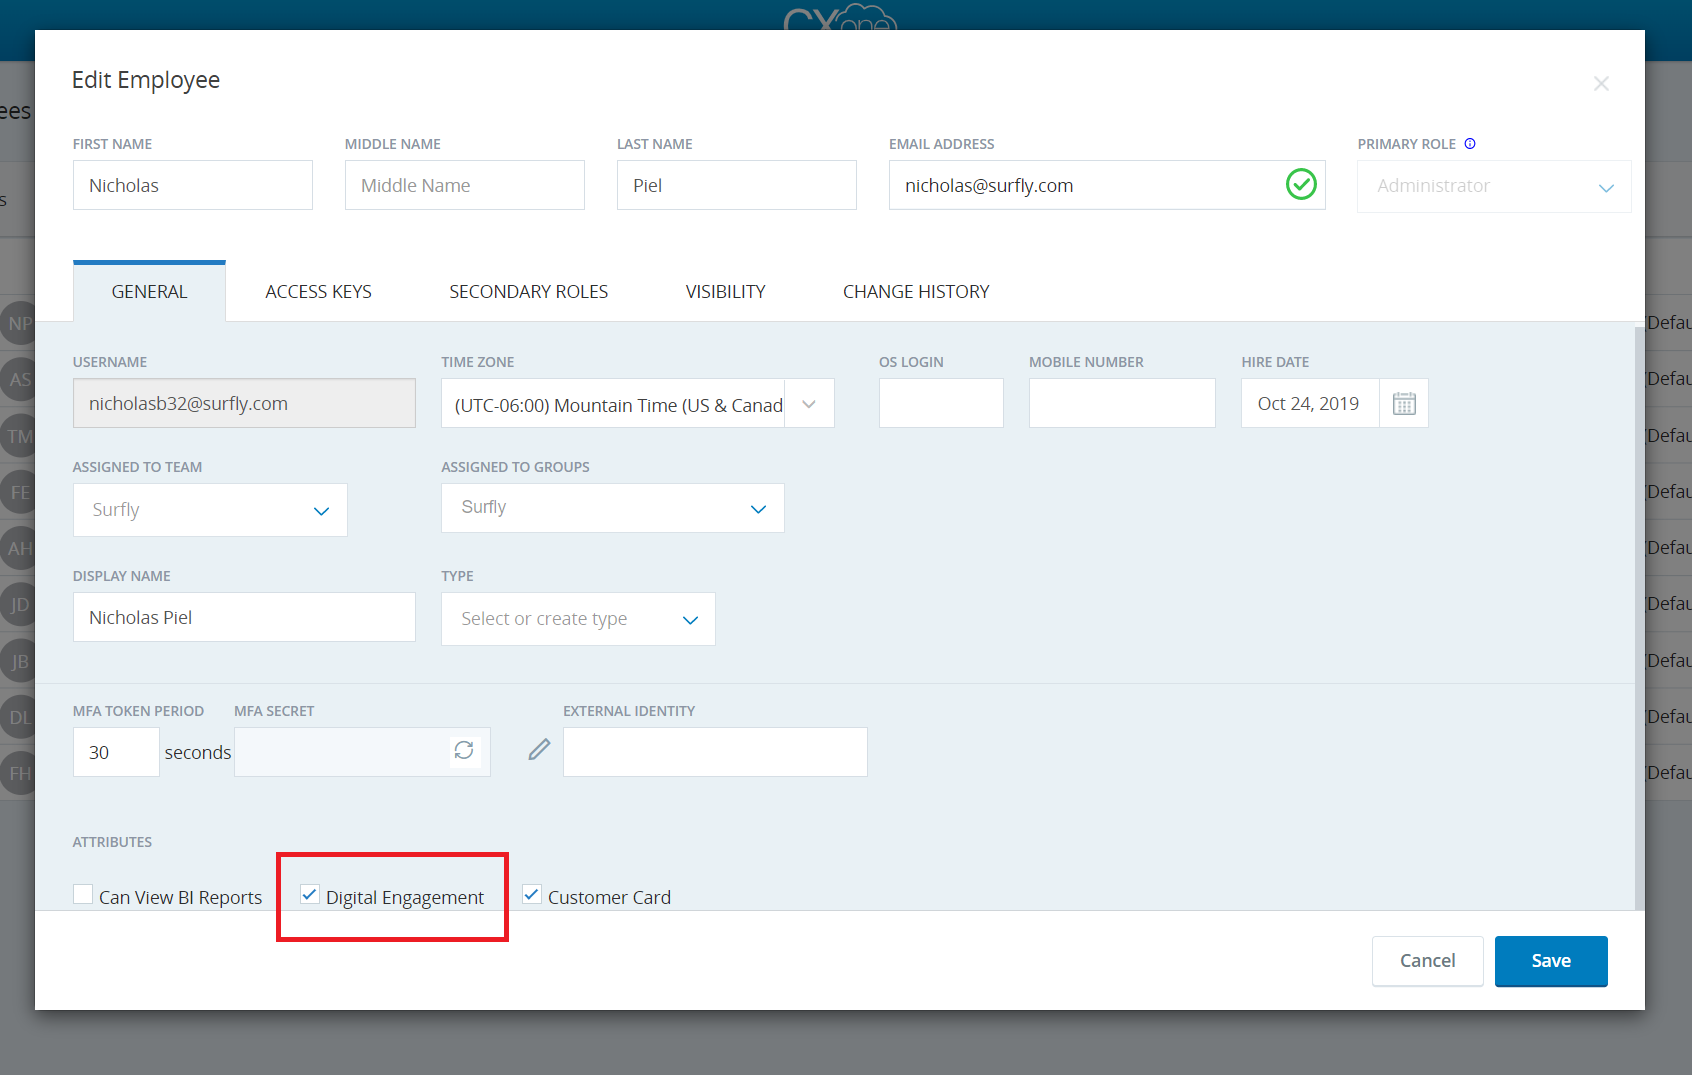
Make sure that the Employees who will be using DFO, have the “Digital Engagement” attribute checked.
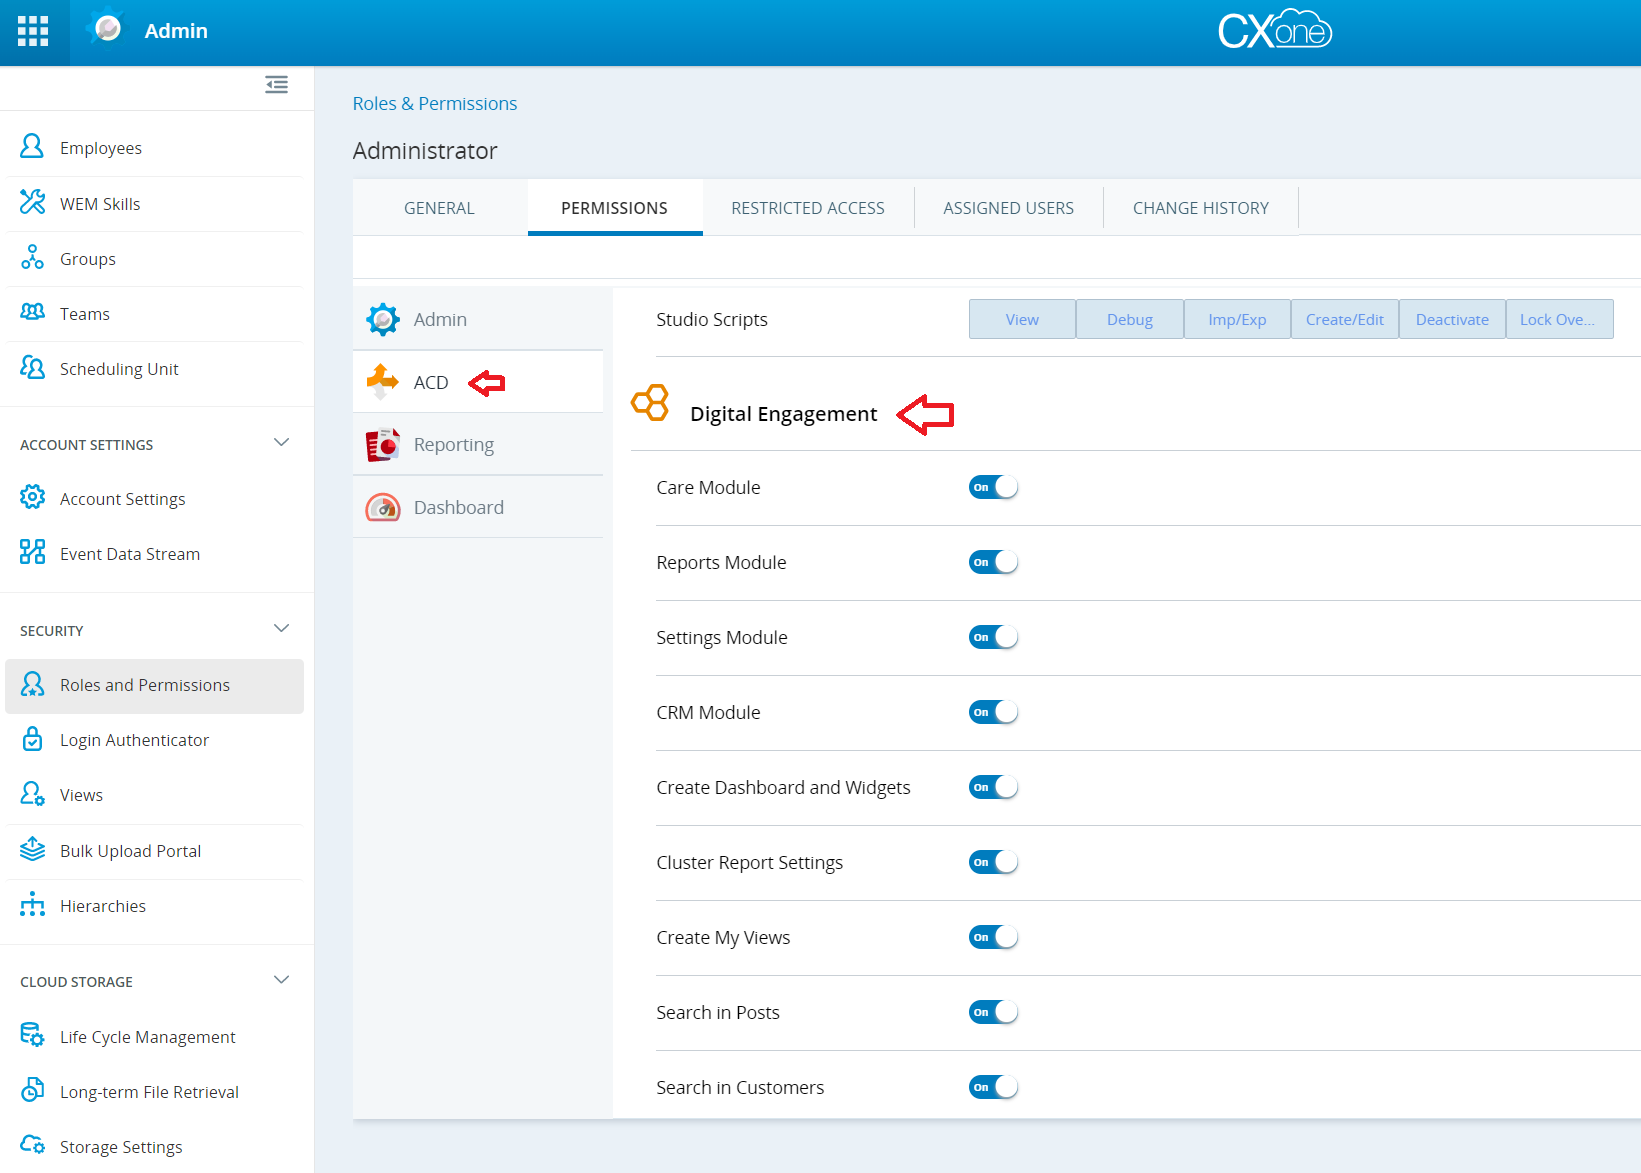
Go to Admin → Roles and Permissions (Security) and look for the assigned role of the Employee from the previous step.
Go to Permissions → ACD, and enable at least the following settings from the “Digital
Engagement” section:
-
Care Module
-
Settings Module
-
Knowledge Base
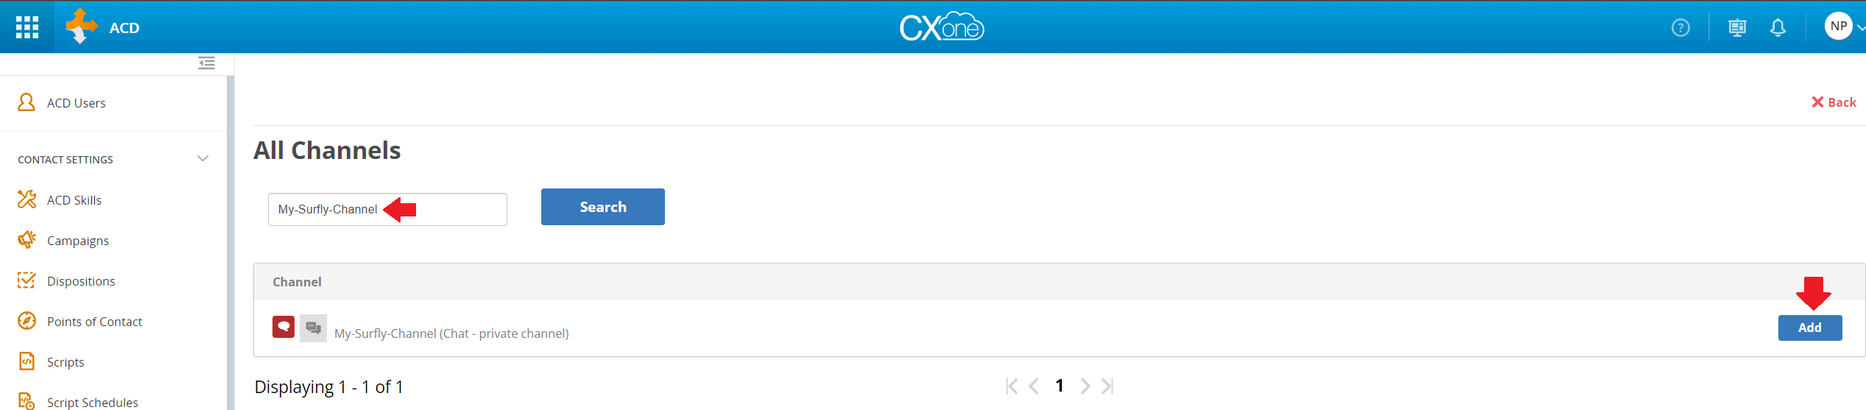
Channel
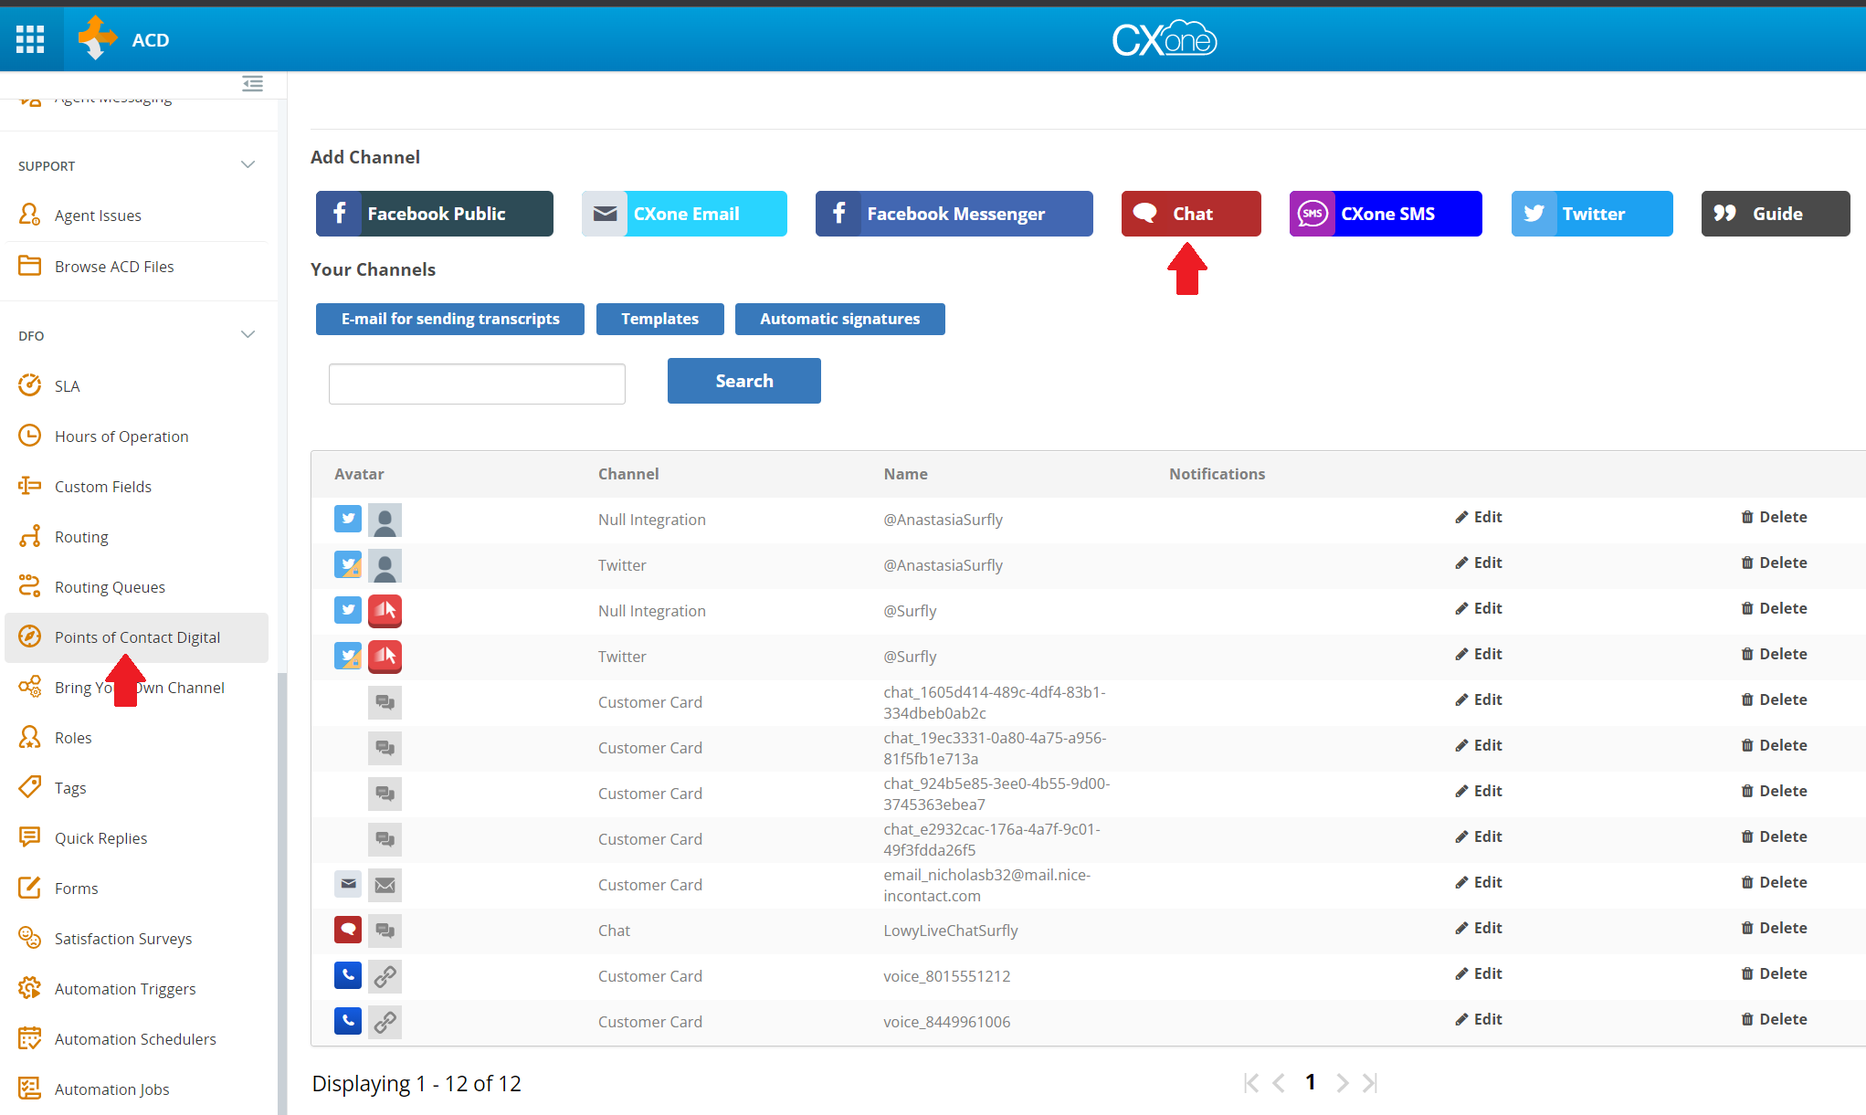
Go to ACD → Points of Contact Digital → Add Channel → Chat → Create Live Chat Channel, and create a new channel:
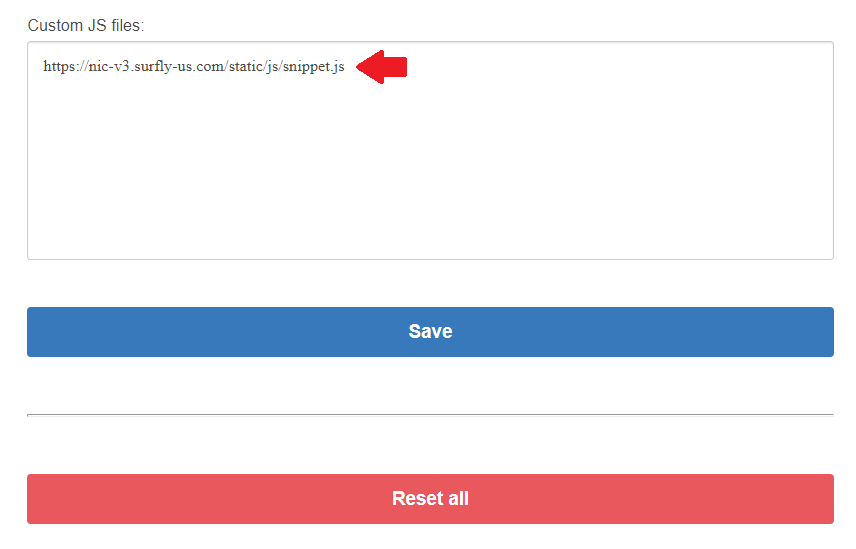
Click "Customization" on your channel:

Add the value
https://nic-v3.surfly-us.com/static/js/snippet.js
to the Custom JS files field:
Go the previous step and click on "Initialization & Test":

It will load the chat test page, but no agents are yet assigned to the skill yet. So no agents will be available for now.
Note: Incognito mode is not supported with Surfly + DFO due to some settings being stored in
cookies.
Roles
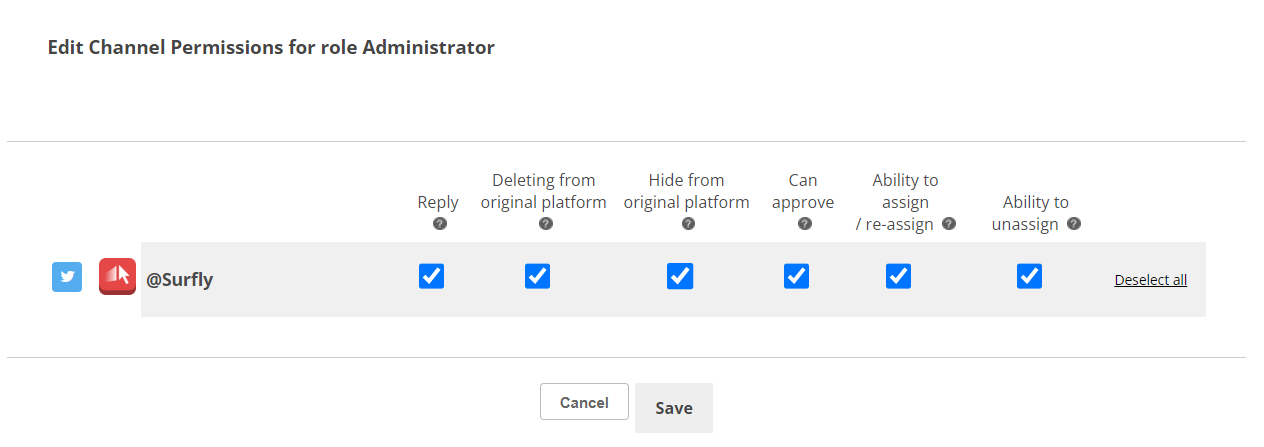
Go to ACD → Roles (in DFO section), and edit the role that is assigned to the employee on the first step:
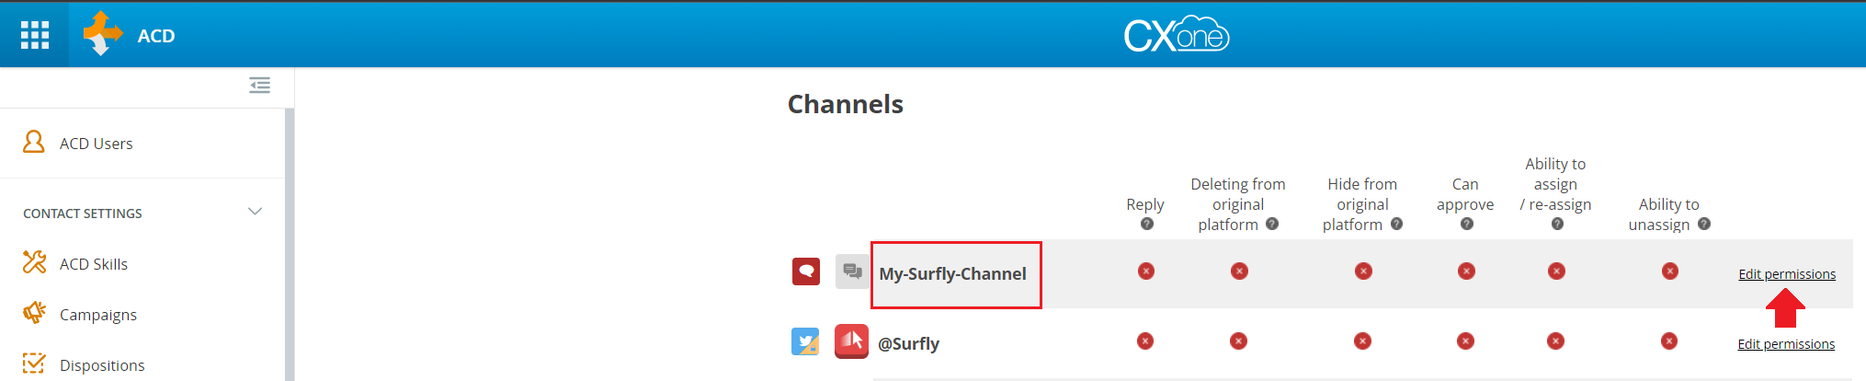
Enable at least the “Reply” Permission:
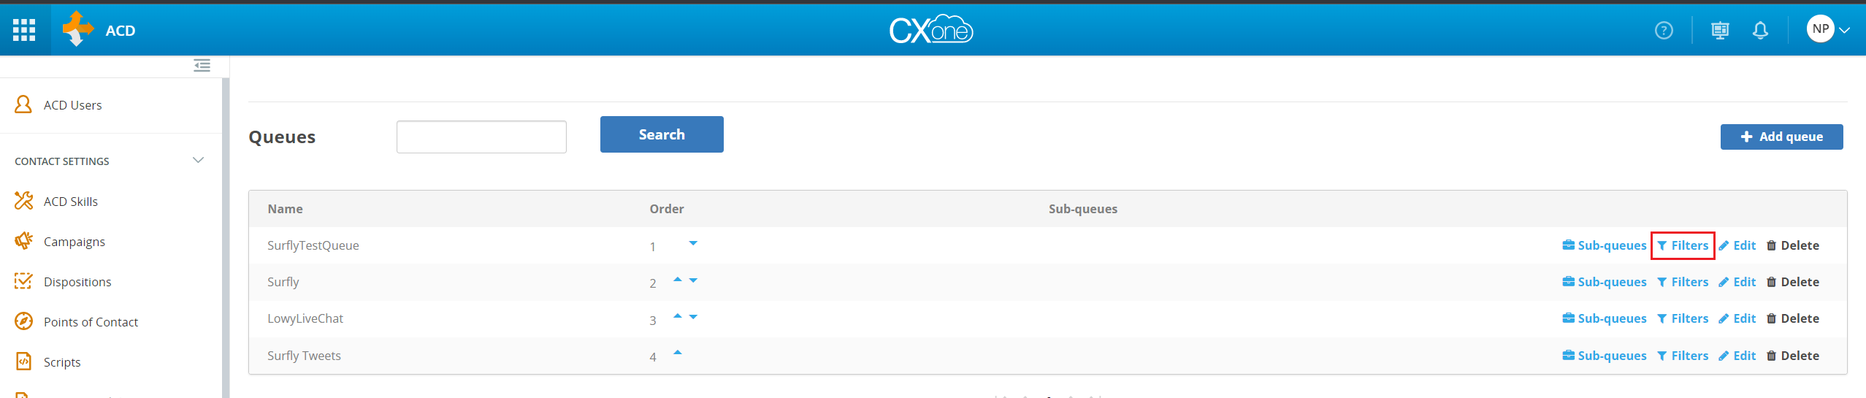
Routing Queues
Go to ACD → Routing Queues → + Add Queue and create a new queue.
Go to the list of queues and select "Filters" in your queue:
Then click on “+Add routing queue filter.” Create a new filter and set the case priority to 25 as a starting value:
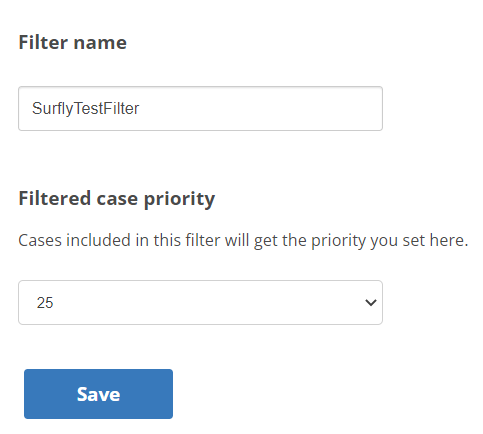
On the next step, select "Included channels rule" as the condition type.
Back on the channels page, select the channel you created on the Channels step:
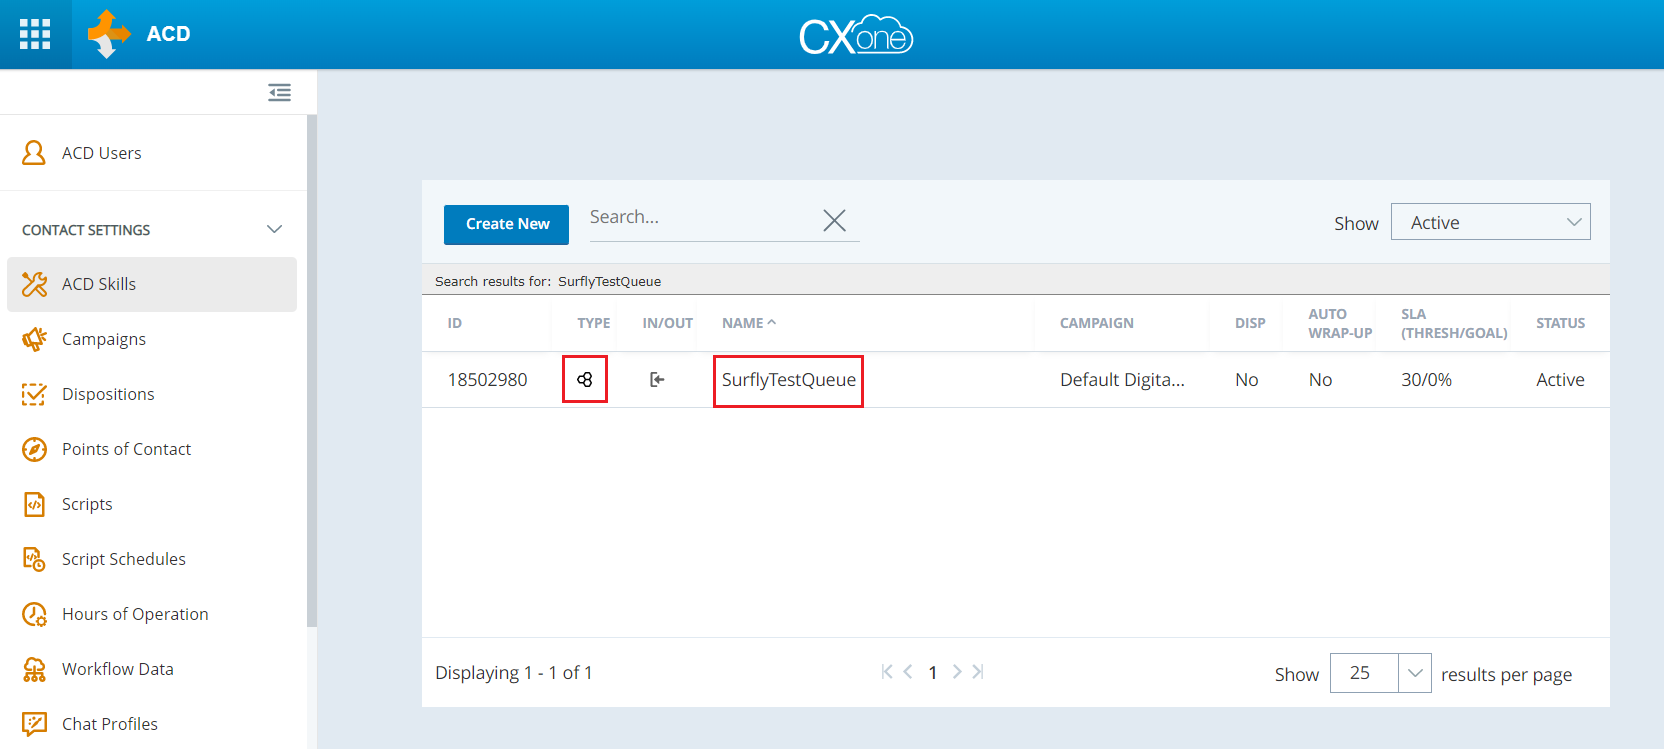
Skills
Go to ACD → ACD Skills and select the Routing Queue created in the previous step:
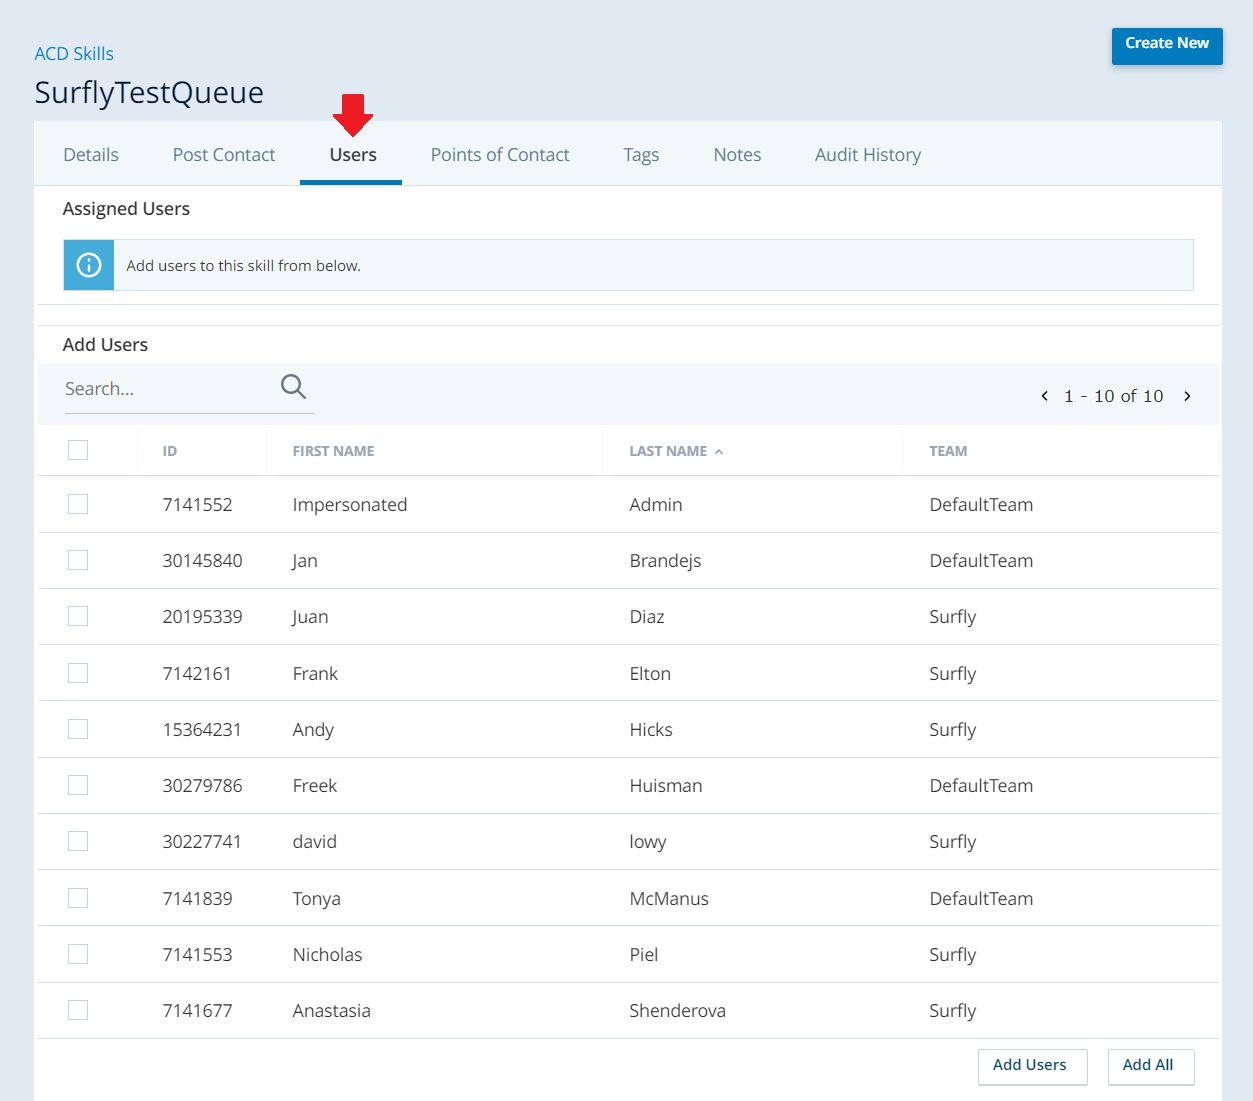
Click on it and go to Users. Add the appropriate users to the skill:
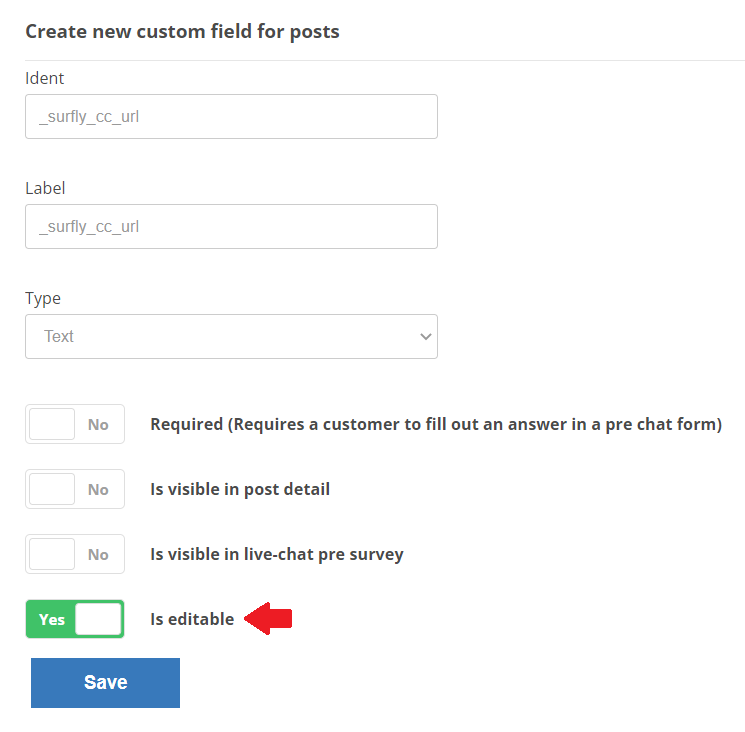
Custom Field
Go to ACD → Custom Fields → + Create new field for Case.
Enter _surfly_cc_url for both the Ident and Label fields. Set the type as "text" and enable the "Is editable" option:
Custom Component
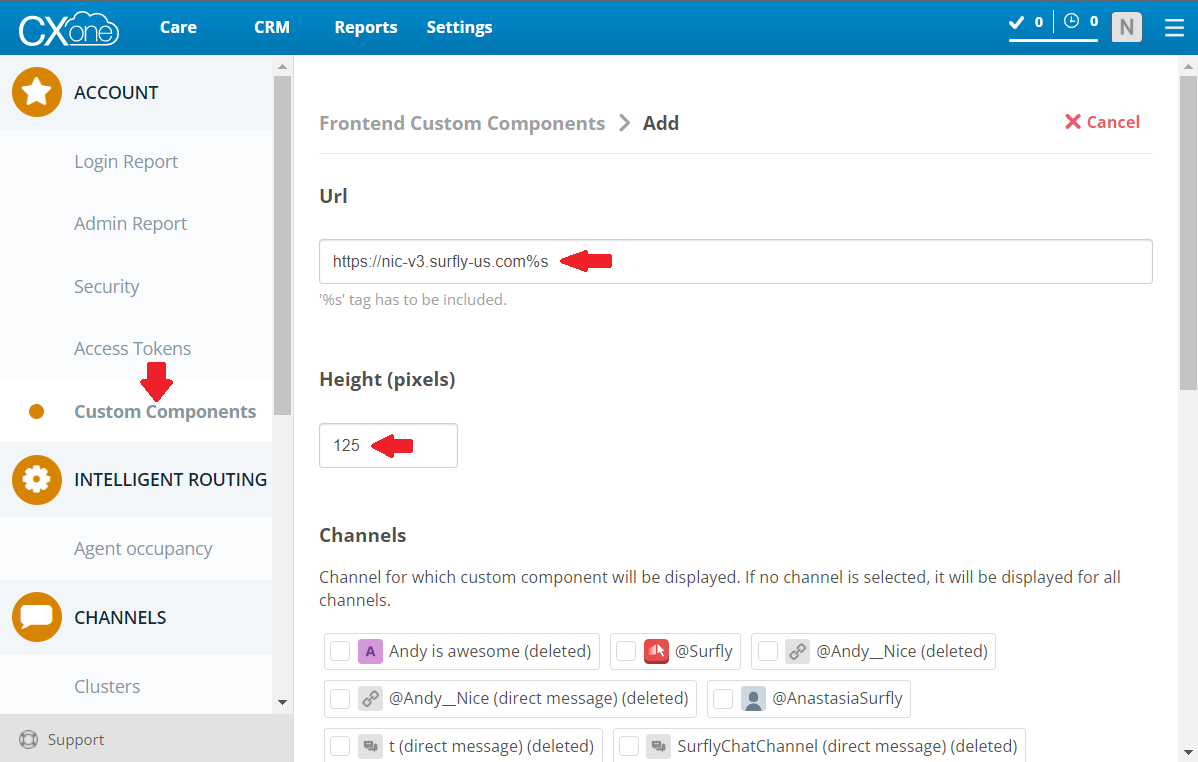
Go to the Dial Pad menu (top left) → Digital → Custom Components → + Add frontend custom component.
Add the URL
https://nic-v3.surfly-us.com%s®ion=REGION
If your region is other than `na1` you need to use the following URL
https://nic-v3.surfly-us.com%s®ion=REGION
Replace REGION with the appropriate value
Region can be found from your panel URL. For instance if your URL is “uk1.nice-incontact.com” the region is “uk1”
Select 125px as height and select the channel created in the Channel section.
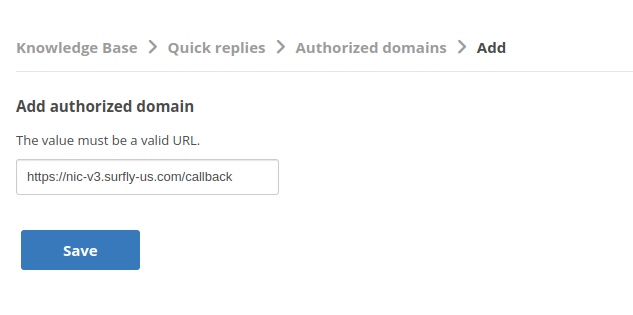
Go to the Dial Pad menu (top left) → Digital → Quick Responses → Authorized domains → Add.
Type https://nic-v3.surfly-us.com/callback and press Save
Testing
To test this, go to Channels list and click on “Initialization & Test”:
.png?cb=0849d22f2b5028a8139ee5a55f852eda)